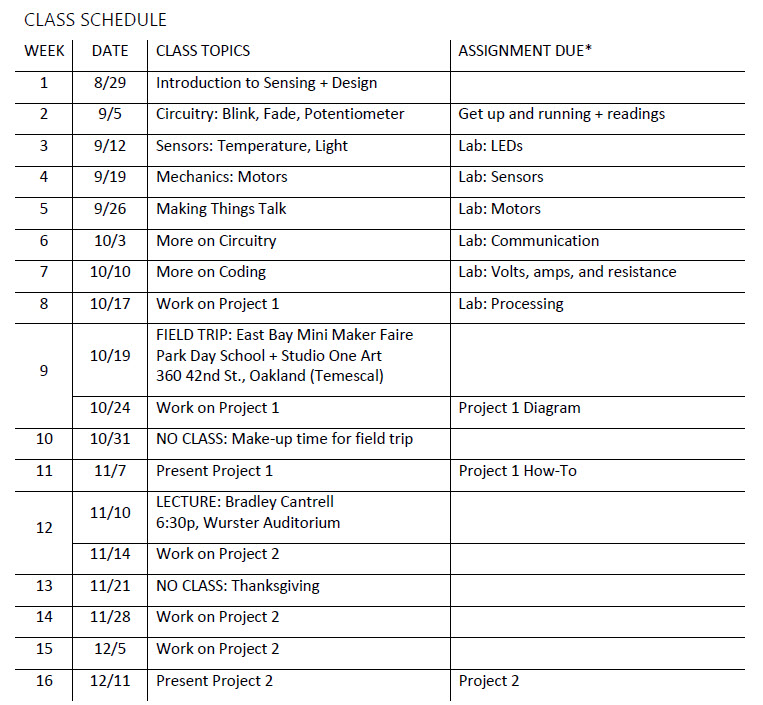
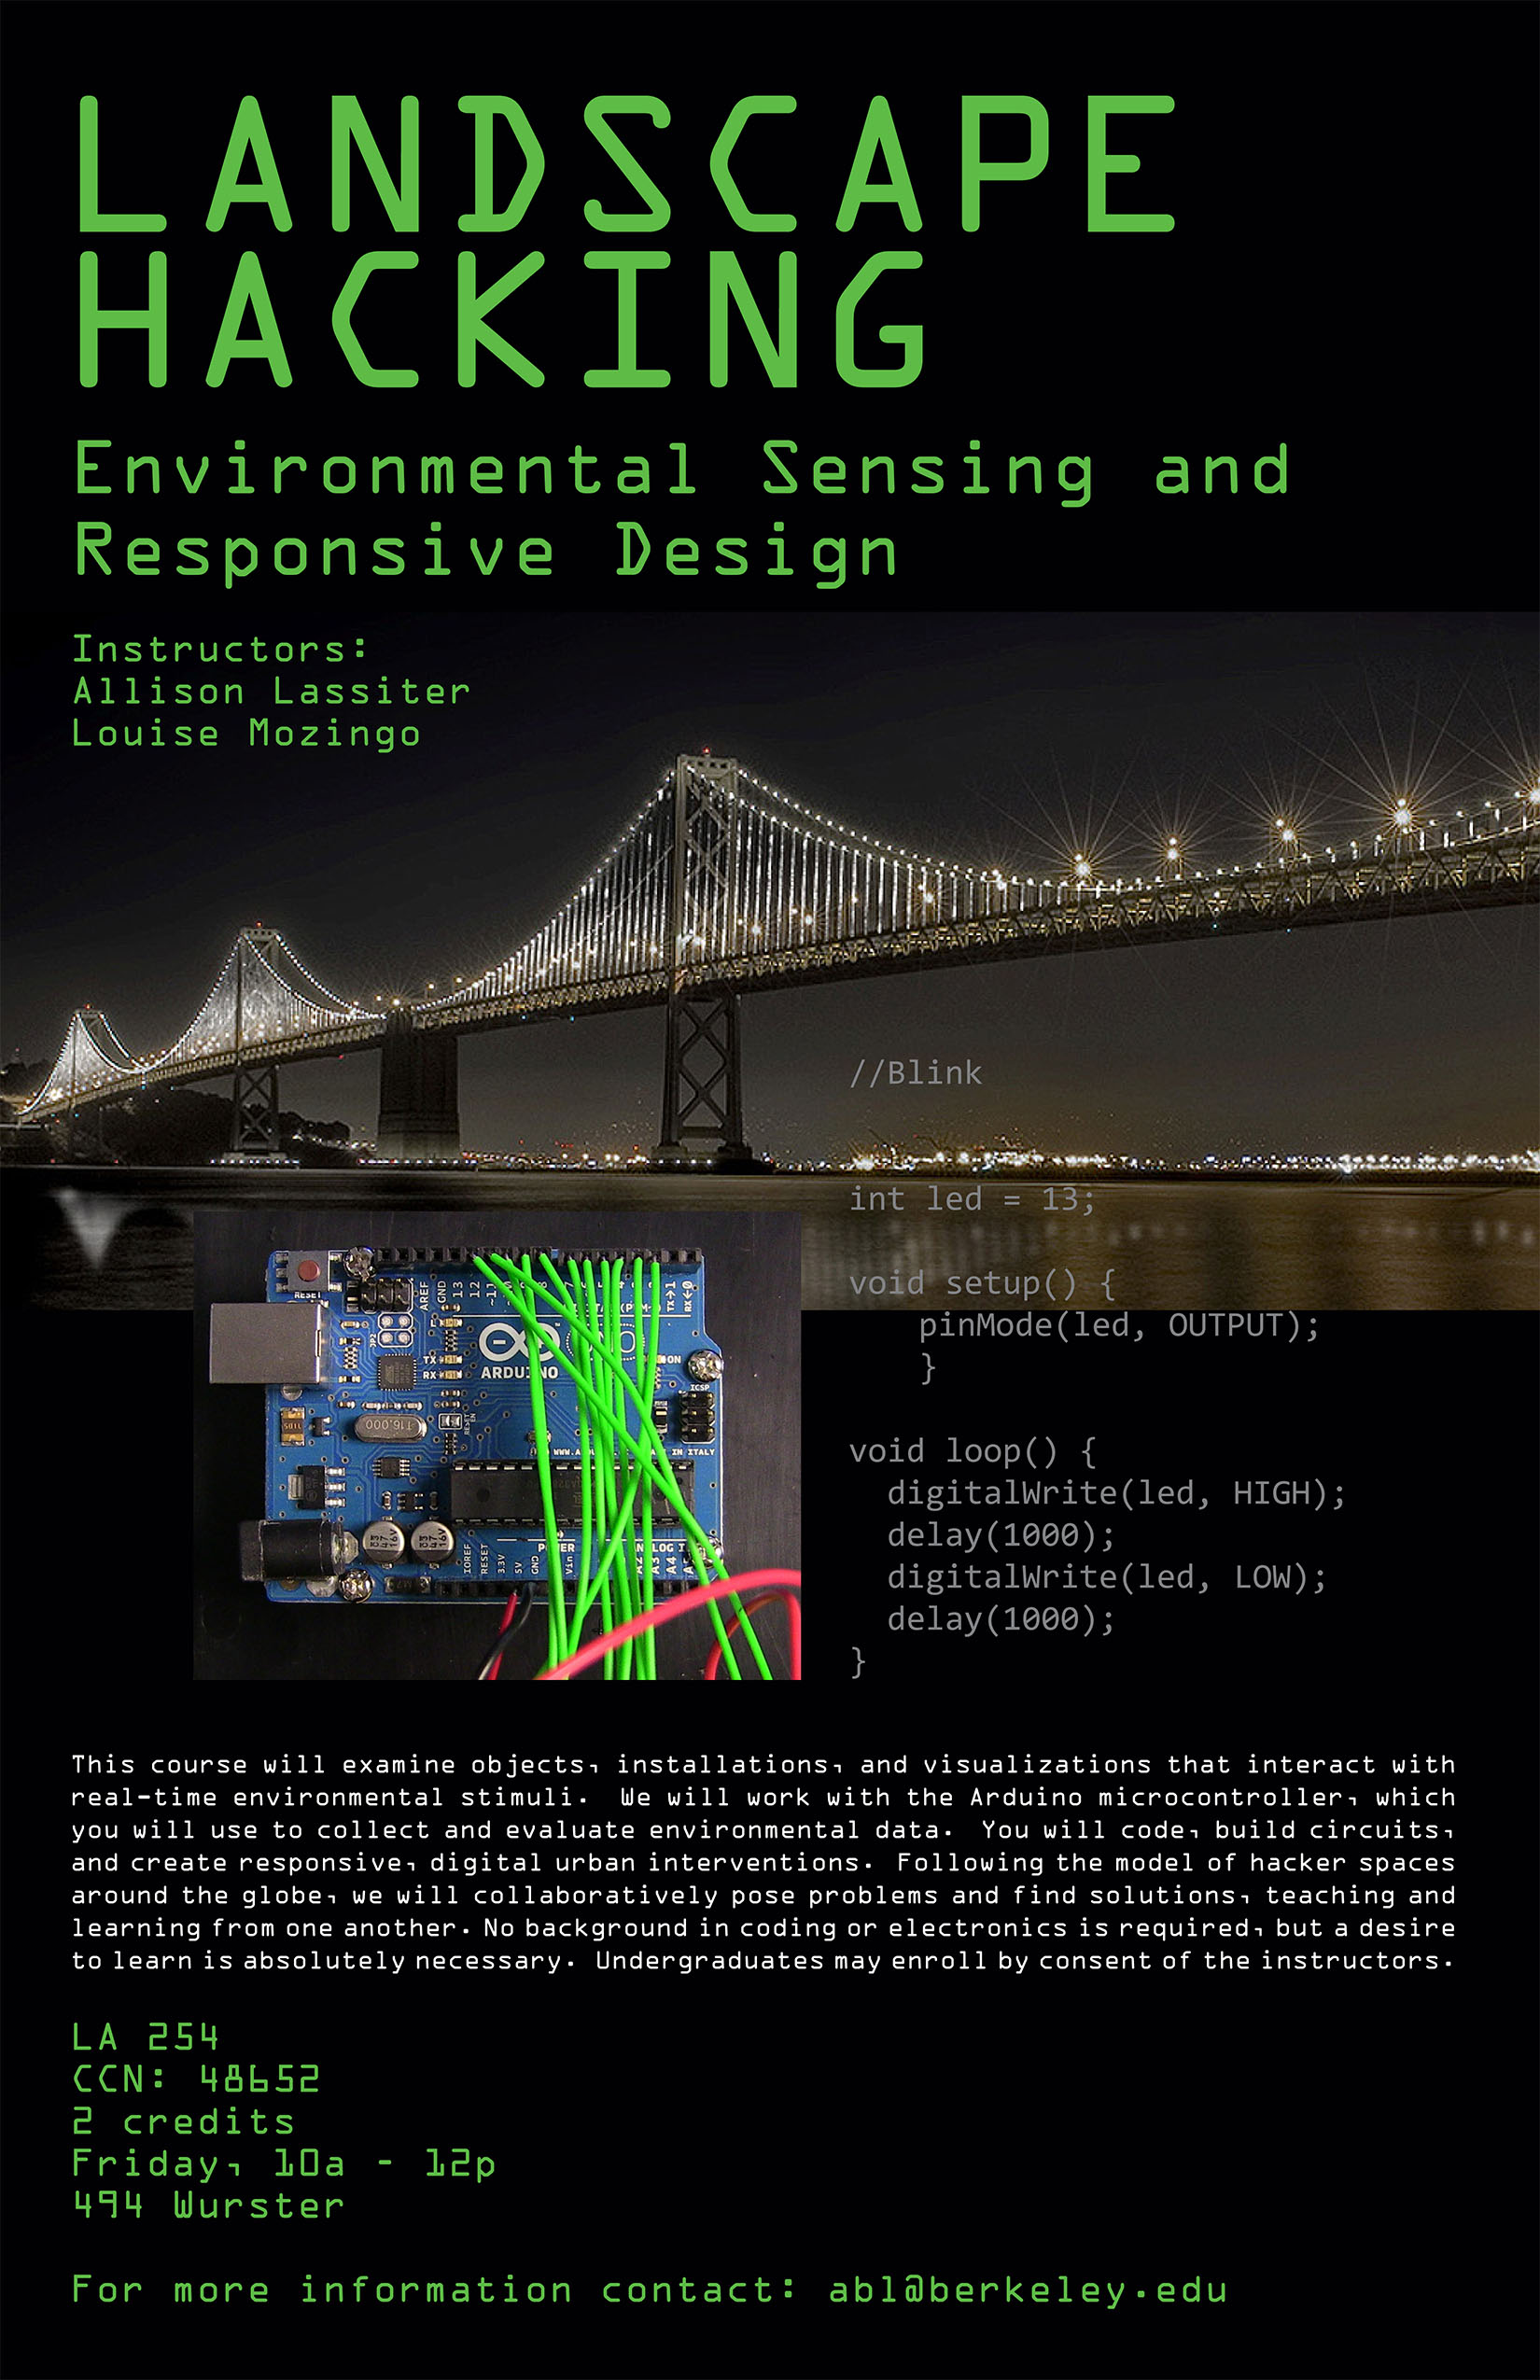
You’ll start this lab by reading about some basics of the Arduino board. Then you’ll dive into LEDs. You’ll use an RGB LED and you’ll look at the multiple LED sketch again (the same one we used in class). Finally, you’ll combine an RGB with multiple LEDs.
1. Get to know your Arduino better. Read the excerpt from Chapter 1 and 2 of Arduino for Dummies posted on bSpace under Resources.
2. Skim the the beginning of the instruction book that comes with your starter kit.
3. Download the code on www.vilros.com/uskcode, as described by the instruction book. (You have to register, but the good news is that they don’t seem to send spam email.)
4. Follow the exercise for Circuit 3, RGB LED. Look at the two function calls inside of void loop() — you’ll see mainColors() and showSpectrum().
Comment out (i.e., insert two forward slashes, //) before mainColors(). Upload the code again. How does the display change?
Replace showSpectrum() with showRGB(0). What happens? Change the number inside the parentheses — what does showRGB(200) look like? showRGB(500)? showRGB(767)?
5. Revisit Circuit 4, Multiple LEDs. (Note: the Vilros code is identical to the code I provided on bSpace.) Carefully read the code, including all of the comments. Do you understand how it works? How can you change the pattern of the blinking lights?
6. Combine the RGB LED and at least two additional simple LEDs . Write a new sketch that makes the lights blink sequentially. Any blinking pattern is fine. You may re-use code from the from the Circuit 3 and Circuit 4 examples.
7. Write a short paragraph stating what your project does. (3 pts)
8. Save your Arduino sketch. Be sure to annotate your code with comments, like you saw in both the RGB and Multiple LED sketches. What do the different pieces of your sketch do? (10 points)
9. Create a short (< 30 sec) video of your project. (7 points)
10. Please submit your work on bSpace under Assignments, Lab 1. You will turn in a total of 3 files, as described in steps 7, 8, and 9. Be sure to click the “submit” button when you are done uploading your work. After, you will receive a confirmation email from bSpace.


