In this tutorial, we will demonstrate how to use Processing to play an audio file of your choise. We intend to use this function as part of a larger project involving the use of sensors in public spaces to trigger pre-recorded sounds when people pass through the space. In this larger project, the function we describe here will be linked with the function of using a piezo sensor to detect vibration.
INGREDIENTS:
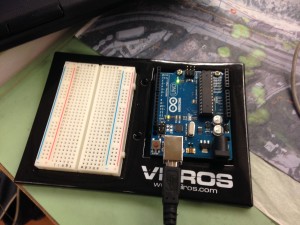
Arduino UNO
Processing software
While it is possible to use arduino to play individual audio files in mono, Processing allows for the playback of audio files in stereo, and can overlap multiple audio files at once.
To clarify this terminology, “mono” means the audio file has a single audio channel, as opposed to the left and right audio channels of stereo audio files. Virtually all contemporary music is formatted in stereo, and it is the format we are accustomed to listening to.
Processing is capable of performing these magical feats of musical playback by virtue of the Minim library. Minim comes included with Processing software. It can also be used outside of Processing, but we’re not going to get into that here.
The only assembly required to run this function is to connect your arduino to a computer via usb. Do this now.
Next, open a new Processing file. Save it under your file name of choice (I called mine “Minim_1”). When you save, a folder will be generated to contain your Processing file. This folder will have the same title as your processing file.
Next, select an audio file, something short. Place your audio file in the Processing folder that you just generated. We chose a Napalm Death song titled “You Suffer”, which lasts about 3 seconds. It’s amazing, and downloadable here if you want to use my code.
If you do use this file, re-title it “you_suffer.mp3”, place it in your Processing folder, and use the code I provide below.
If you wish to play a different audio file, this link provides you with code to do so, as well as lots of helpful info about Minim.
To play the audio file you have now placed in your Processing folder, simply plug it in to the code provided by the link by deleting the song title they have in quotes (“mysong.wav”), and typing in the file name of your audio file between the quotes (e.g. “you_suffer.mp3”).
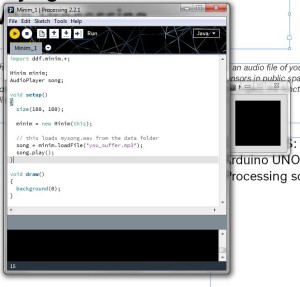
Here is the code we used:
|
1 2 3 4 5 6 7 8 9 10 11 12 13 14 15 16 17 18 19 20 |
import ddf.minim.*; Minim minim; AudioPlayer song; void setup() { size(100, 100); minim = new Minim(this); // this loads mysong.wav from the data folder song = minim.loadFile("you_suffer.mp3"); song.play(); } void draw() { background(0); } |
That’s it on your end, the code handles all the rest of the work, importing the Minim library and using an audio player function to play your audio file.
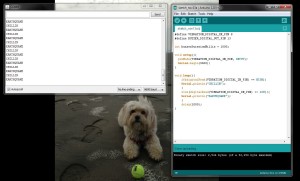
When you run the code, a small window will appear to the side, and your audio file will play. It looks like this: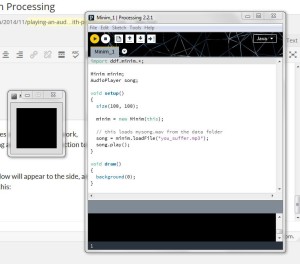
Happy jamming!
